Abby’s Guide > Outdoor Power Equipment (Lawn Mowers, Snow Blowers, Chain Saws and more) > Discussions > Ariens Modified & Repowered 1032 (pics)
Outdoor Power Equipment (Lawn Mowers, Snow Blowers, Chain Saws and more) Discussions |
|
jrtrebor
   
Location: Michigan - 3 hours north of Chicago on the lake
Joined: Feb 9, 2010
Points: 539
![]()
|
 |
Ariens Modified & Repowered 1032 (pics)
Original Message Nov 10, 2011 5:35 pm |
|
Finally got the electrical straightened out, I hope (with help from some on this board) and finished up everything else. Removed the 11hp Honda clone engine that I put on last year and replaced it with a 13hp Honda GX390 with a 10A lighting coil. Rewired everything. Added a stainless shield on the front of the blower Still have to get a new battery. And hose it down with Fluid Film. But other than that it's ready to go. Had some snow and sleet today. 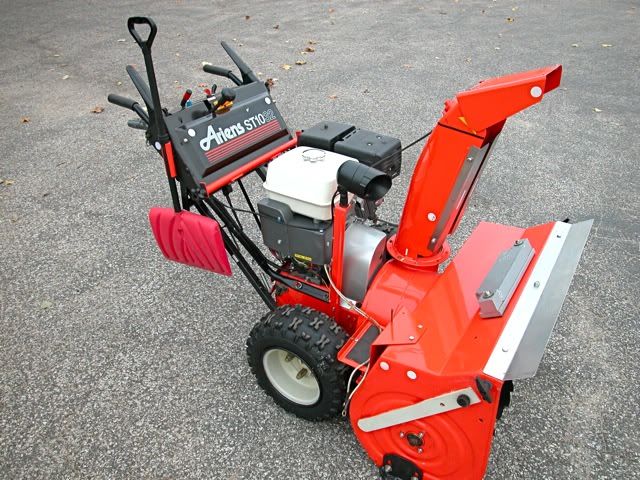 Serrated the Augers. Replaced the auger shaft bushing setup with flange bearings Replaced the impeller bearing. Gave everything a fresh coat of paint. 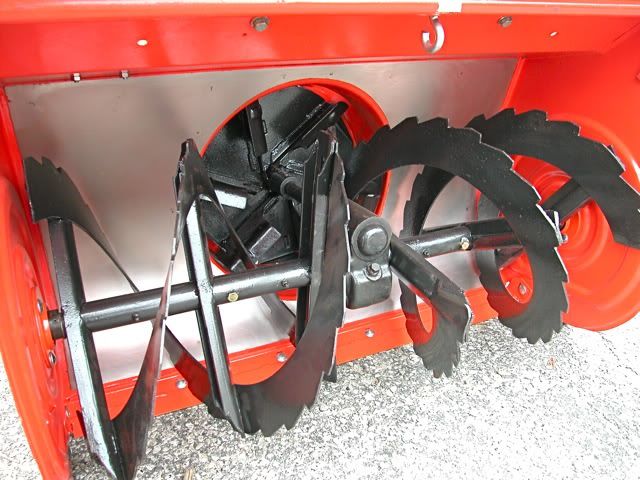 Tapered the deflector 3/8" on both sides to tighten up the stream a little 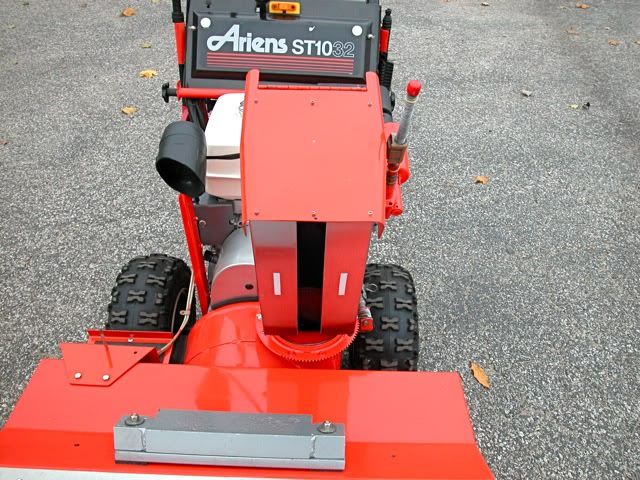 Fabricated a new belt cover. 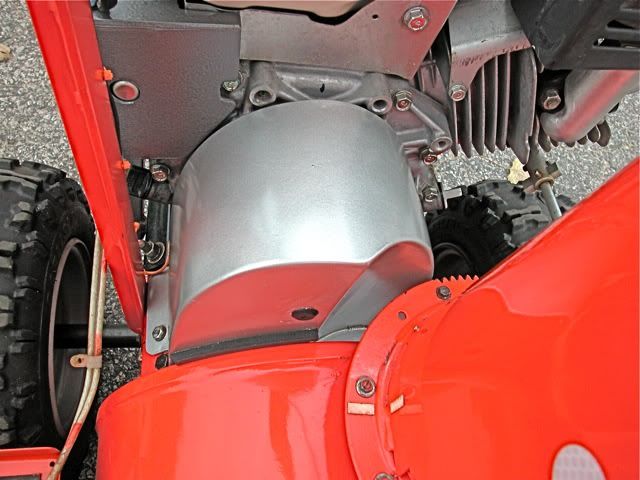 Modified the starter cover to cover the Rectifier and wiring. 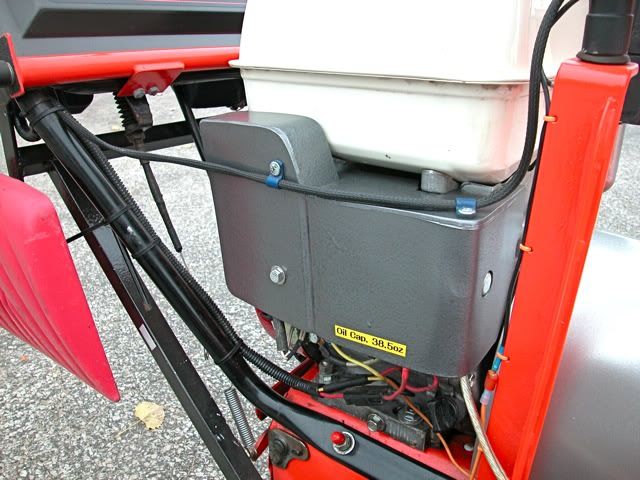 Removed the old steel shields on the front of the chute and replaced them with stainless ones. When I had the wheels off I realized that I could thread in some 1/2 bolts from the back side of the wheel plate to make studs. Then use car lug nuts to hold the wheels on. Now all the threads are protected from the weather inside the lug nuts. I'm keeping my eyes open for a pair of cheap 8" moon hub caps. 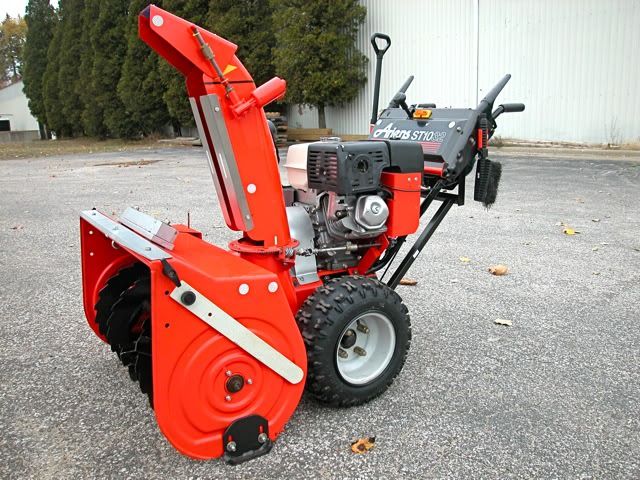
This message was modified Nov 10, 2011 by jrtrebor
|
Shryp
   
Location: Cleveland, OH
Joined: Jul 25, 2010
Points: 532
![]()
|
 |
Re: Ariens Modified & Repowered 1032 (pics)
Reply #13 Nov 11, 2011 7:31 am |
|
Looks Great, glad to hear you are all squared away with the electrical, where did you get the light? I like the fab work on the covers. What size Augers are they and did you make a template? I am dying to try out my mid 80's cub cadet 8/26 which i bought this spring with no motor. I put an 11hp honda clone and a 1/2" larger auger/impeller pulley on the engine and suspect that at only 26" width bucket the 11 is probably just a little overkill  Here is his light: http://www.abbysguide.com/ope/discussions/54409-0-1.htmlHere is is auger template: http://www.abbysguide.com/ope/discussions/59738-0-1.htmlYou even commented on it! :) Side note: Is it sad that I visit this place enough to remember these things?
This message was modified Nov 11, 2011 by Shryp
|
jrtrebor
   
Location: Michigan - 3 hours north of Chicago on the lake
Joined: Feb 9, 2010
Points: 539
![]()
|
 |
Re: Ariens Modified & Repowered 1032 (pics)
Reply #14 Nov 11, 2011 10:58 am |
|
Looks Great, glad to hear you are all squared away with the electrical, where did you get the light? I like the fab work on the covers. What size Augers are they and did you make a template? I am dying to try out my mid 80's cub cadet 8/26 which i bought this spring with no motor. I put an 11hp honda clone and a 1/2" larger auger/impeller pulley on the engine and suspect that at only 26" width bucket the 11 is probably just a little overkill  Good memory - shryp. I checked the bulb the other day and it's a 35W not a 30W like I had posted. Well I hope it's squared away! Only took me a month, at least I didn't melt anything. The augers measure 15 1/2" but I would bet they were 16" when new. The impeller is 14" with five blades. I increased my blower drive pulley a 1/2" in diameter as well (3 1/4") A 26" bucket with that 11hp should really move some snow with the increased impeller and auger speed. The 11hp should be good it will let you travel at a little faster ground speed. In the beginning I noticed that the bigger engine with the larger pulley does put more strain on the belt. The impeller and augers don't mind the extra RPM and the motors got the power. So the belt is the part that's really having to deal with all the extra torque when you get into a long stretch of really deep snow. Haven't blown a belt yet. But did stretch one out in one really big storm. I was just moving to fast for the snow density and depth. There was a learning curve after the repower. So since then I've kind of watched that or kept myself aware of it. User error is what causes most blower break downs. So if it does blow one I'll have no one to blame but myself. I hoping the new additional and lower first gear will help with that. One thing that I was really surprised by was how much easier and freer the impeller and augers spun. After putting in a new impeller bearing and replacing auger shaft bushing set up with flange bearings. The whole assembly would free spool a least 1 1/2 revolutions. When you'd give the large belt pulley on the impeller shaft a good spin. It wouldn't do that before.
This message was modified Nov 11, 2011 by jrtrebor
|
jrtrebor
   
Location: Michigan - 3 hours north of Chicago on the lake
Joined: Feb 9, 2010
Points: 539
![]()
|
 |
Re: Ariens Modified & Repowered 1032 (pics)
Reply #16 Nov 11, 2011 11:35 am |
|
Nice work, all the little nice touches for personalization. I like the little reflective discs for conspicuosity, the sheet metal work for the custom covers, and the chute straight ahead alignment marks.. Very stout looking unit with a GX390 engine to match. Looks like you got quite a deal on that genuine GX engine for the price of a clone.
Did you add handle brace to the tractor section? What's the hook in the bucket for?
Thanks aa335 - I also use the alignment marks to tell me when I'm about out of teeth on the chute gear when turning the chute left or right. I did make a handle brace good catch. I just didn't like the feeling of the handles flexing a little when you lifted the blower off the ground. It's still and old blower (26 years) and even thought the handles down where they bend to bolt onto the tractor. Are tubes with tubes inside. I have seen them crack at the back bolt. Not a good thing to have happen in the middle of a storm. So handle braces became the project for the day. It's got a much better feel to it now. And the extra weight of the battery on one side with the weights on the top of the blower don't concern me. The hook is a place to hook a small chain binder to when I secure it in my trailer. This is the way it was last year. It worked I didn't like it that much. And with the new shield on the front it wasn't going to work at all. 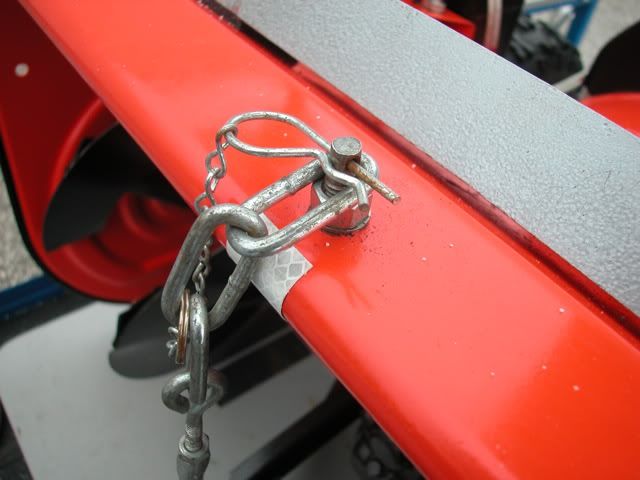 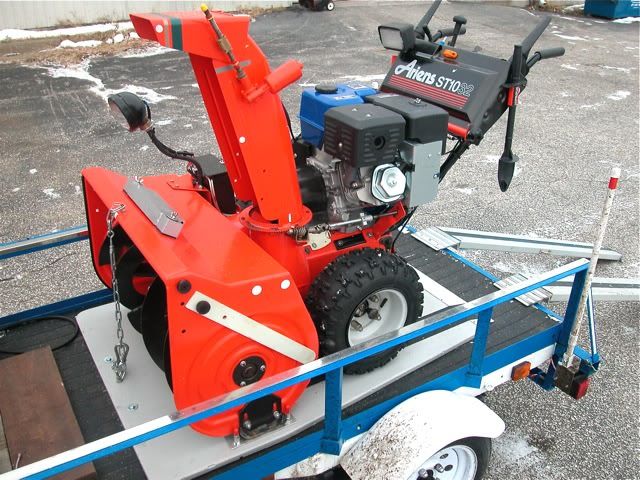 The plates and posts capture the skids so the blower can't roll forward or backward or move left or right.. The chain it front keeps the blower down so it can't lift off the capture plate. And the chain in back keeps the back end down so it can't hop around. I also use a velcro strap to keep the drive handle down which acts like a parking brake. Once it's on the trailer it takes about 50 seconds to completely secure it. Even with gloves on. This year the chain binder will hook it the eye bolt and hold the front end down. The gray board the blower is sitting on is 3/4" plywood. It's bolted down to the trailer bed with four 5/16" bolts. They run through the bed and screw into Tee Nuts put in from the bottom side of the bed. That way I can easily take the whole thing out after the season. 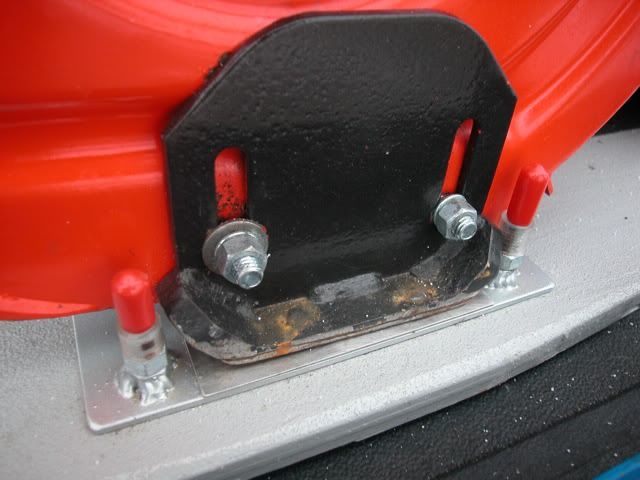 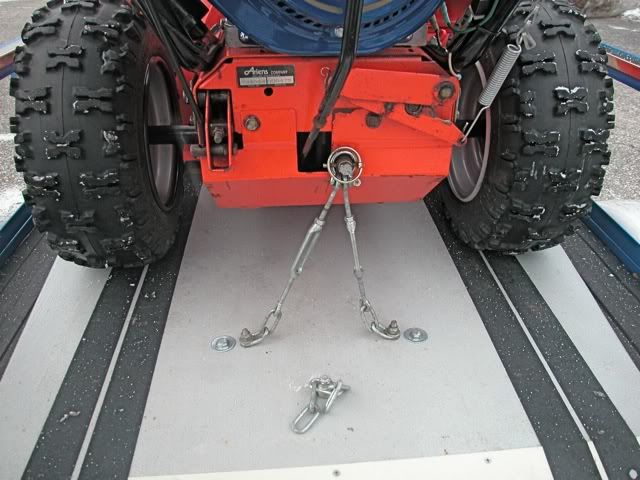 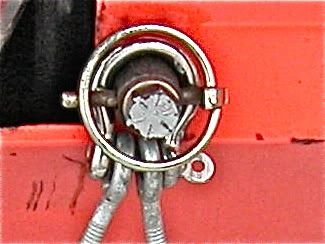
This message was modified Nov 11, 2011 by jrtrebor
|
|
|

